A Guide to Using OBS for Professional-Quality Video in Your Meetings
In this guide, I want to help you upgrade your meeting experience. I want to help you to stand out from the rest of the Hollywood Squares. I want to help you engage with your team in ways you may not have thought of until now.
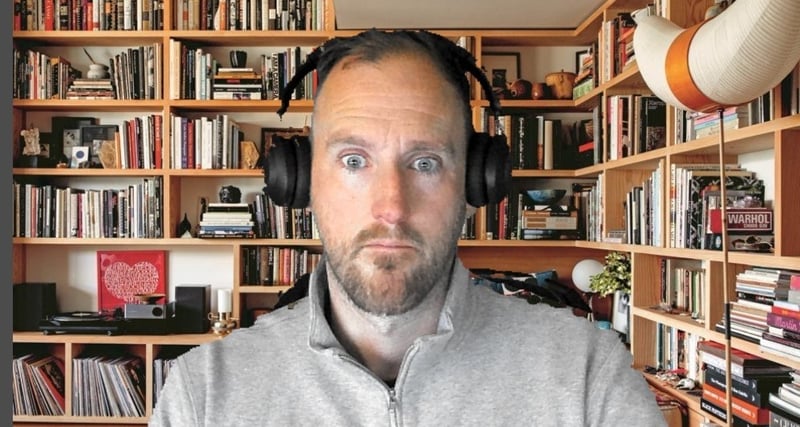
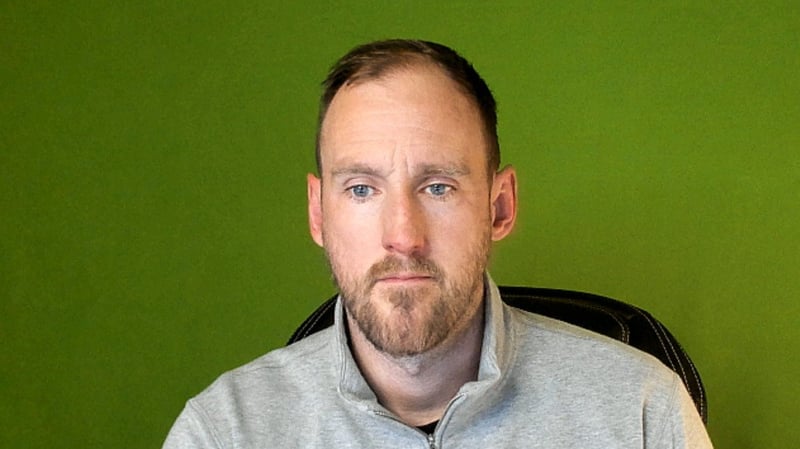
Our goal is to get you from here:
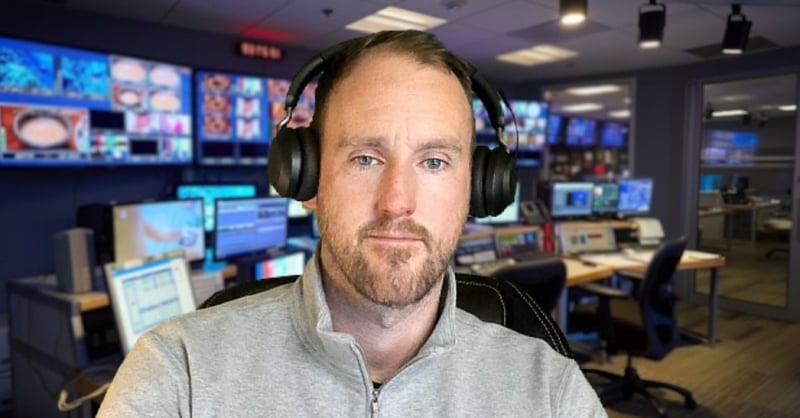
To here:
If you’re like me, you have a lot of meetings and you’re on video in almost all of them, unless you’re making more coffee because its one of those Mondays.
I used to think that video was just a way to make sure people weren’t falling asleep while Bob droned on about his TPS reports. But it turns out, video plays a vital role in how we engage with our fellow human beings while working without pants on.
Step 1: Stop using the built-in camera backgrounds or background blur
Its time to take your meeting game to the next level and to do that you need to look good on video. So while its nice to be able to blur out the dirty laundry behind you on the bed, it may randomly distort your face or your hands. We need a way to emulate that experience with more control at the same time.
Step 2: Start using OBS with a Virtual Camera
OBS (Open Broadcaster Software) and the VirtualCam plug-in are completely free software that you can start using right away, but you will need a way to chroma key or use a green screen to remove your background. I recommend a semi-portable green screen that you can hang or remove easily.
Step 3: Invest in a few soft or diffused lights
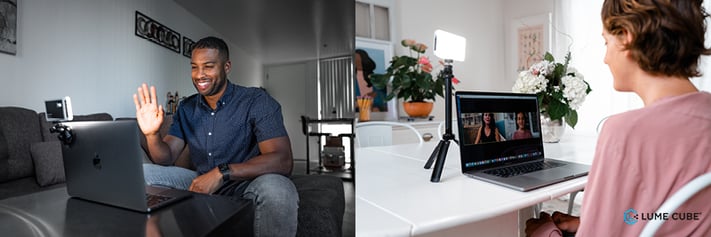
You’ll want to make sure you have a few lights in front of you and one slightly behind you to evenly light the space and remove harsh shadows from your face so you don’t look like a ghoul. I use a few lights depending on the situation, but I can’t understate the importance of good lighting.
There are lot of great inexpensive options out there, but any light that gives smooth color and brightness control is going to be really helpful. The Lume Cube Video Conferencing Lighting Kit or Lume Cube Broadcast Lighting Kit are just a couple options.
Step 4: Start adjusting your OBS sources and filters
I use my Logitech BRIO 4k webcam with a significant zoom applied. Start adding sources to your OBS scene — you can adjust placement and size as needed.
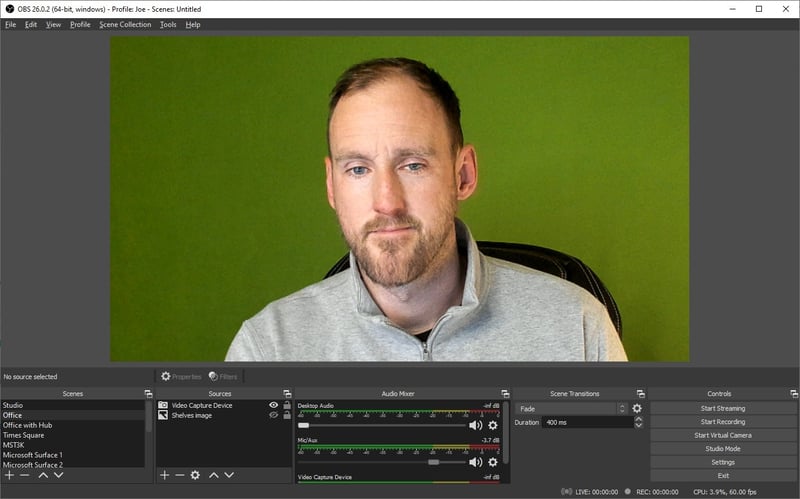
Apply filters to your Video Capture Device source. I applied a Chroma Key filter to take out the green screen background and a Sharpen filter to increase the clarity of the video image which will make more sense after the next step.
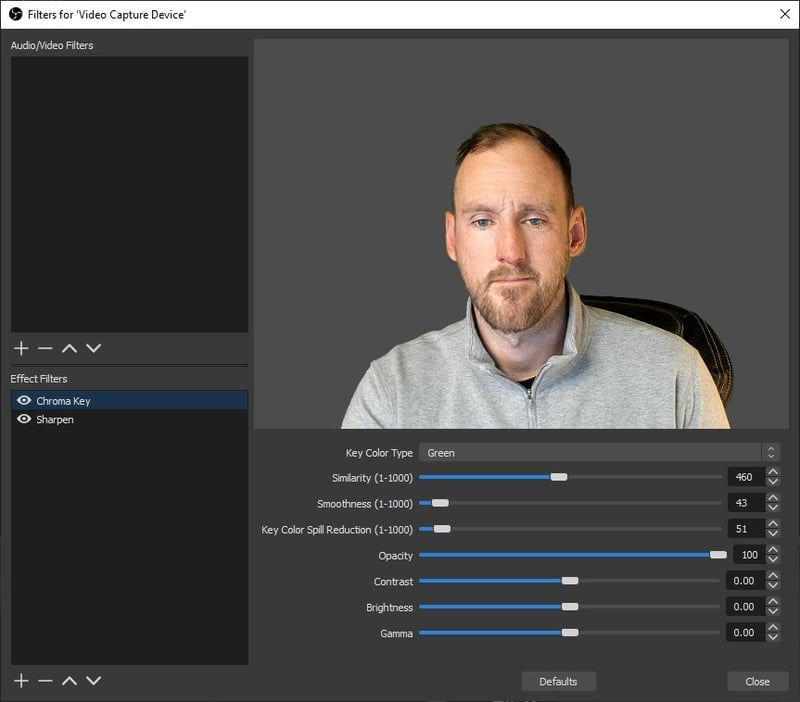
For the Chroma Key filter, you’ll need to adjust the sliders for Similarity, Smoothness, and Spill Reduction to suit your environment and lighting.
Step 5: Add a slightly blurry background image
I know this part sounds a little unorthodox, but you’ve probably seen this effect from high end cameras with professional depth of field lens settings and didn’t realize you could simulate this amazing effect pretty easily. This is how you really stand out on video.
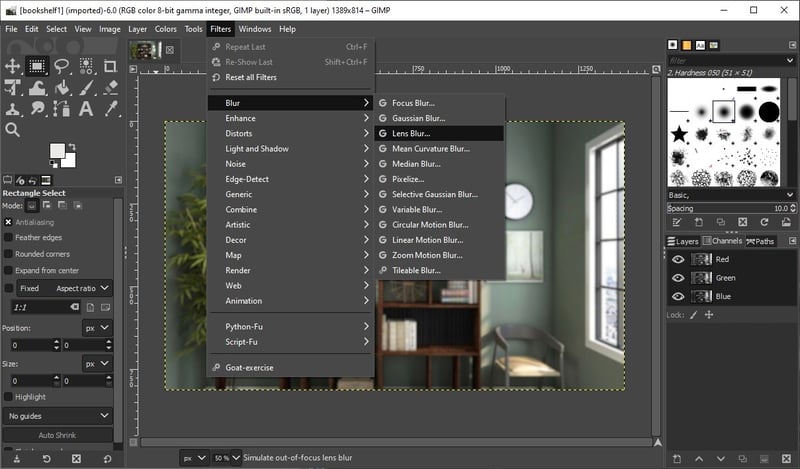
You want to keep yourself in perfect focus while adding depth to the space around you and to do that the background needs to be out of focus. So when I select my background image, I actually edit the image to add blurriness. You can use a lot of free editing programs; I use GIMP which lets me select portions of the image and add blurriness in stages.
The key is to have the most distant parts of the image, or what should be the furthest away, the most out of focus. And the closest objects in the image should be less blurry.
Step 6: Bring it all together
Now that you have a way to stand out from the background, add that as a source in OBS, make sure it’s behind your video in the order, and then select Start Virtual Camera.
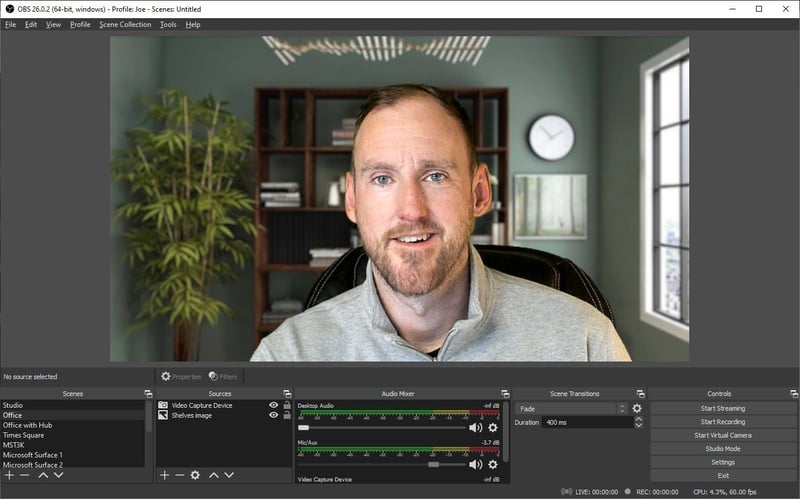
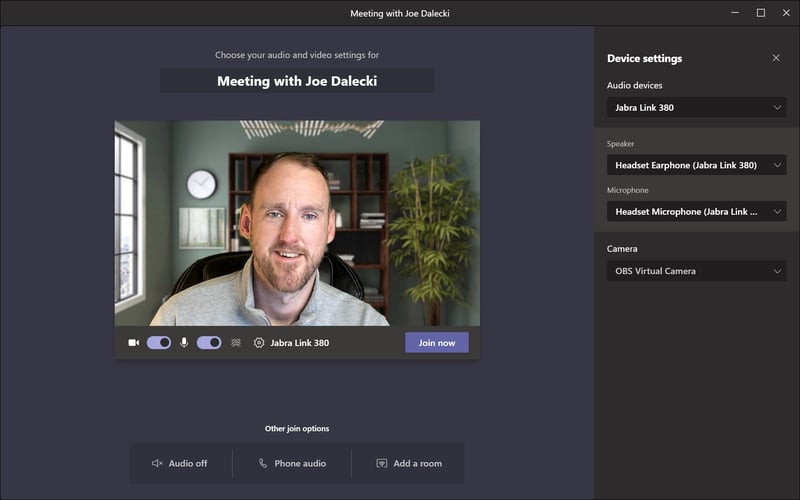
In your meeting application, when selecting your video device, you’ll have the option of selecting OBS Virtual Camera.
